
Tutorial: How to make your first set of vector icons
Tutorial: How to make your first set of vector icons
Step-by-step article for creating your first set of vector icons.
It will be useful to read to all designers, as well as those who want to understand the principle of creating the right set of icons for use, as well as for sale in designer stores.
Step one: theme
Decide on the theme of your future set of icons, for example: new year, some kind of mass event, clothing icons for an online store or kitchen appliances.
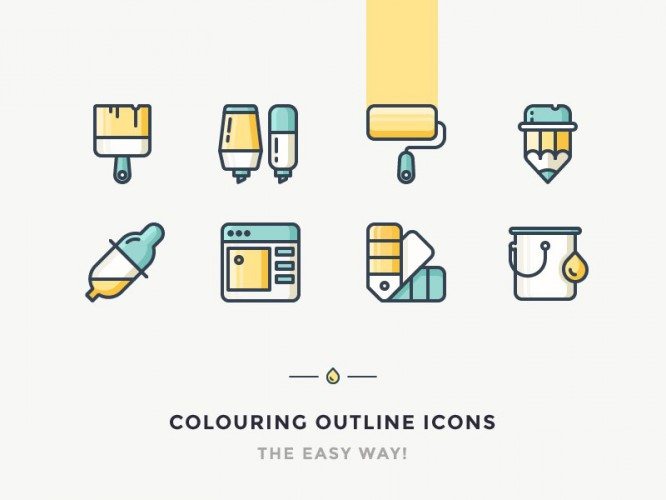
 by Oliver’s Creative Agency
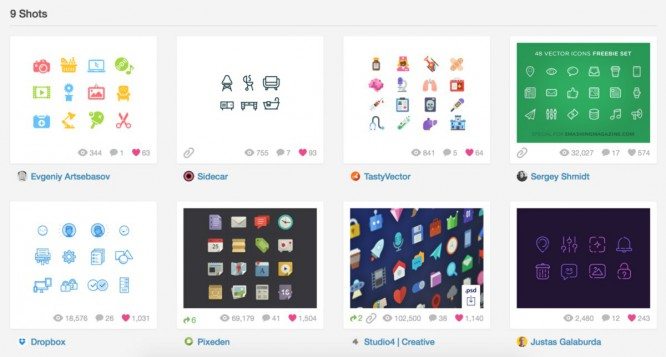
 by Justas Galaburda
But you don’t have to choose a general theme and draw the most common icons, like burgerbutton, letter icons, and the rest … those images that can be found on almost all sites.
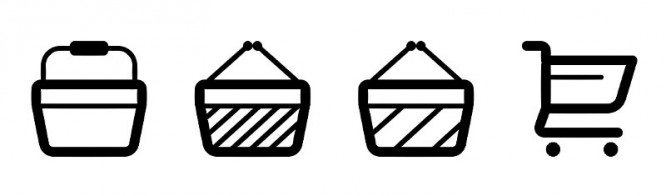
 by Cole Bemis
Step two: style
On dribbble I created a folder called “icon styles” and put the styles in which I want to draw the next set. I also show it to clients who don’t know what style they need.
All icons can be divided into the following classes: silhouette or filled, with a stroke along the contour (outline icon), complex or complex (mini illustrations). A complex icon style can combine flooded elements and strokes.
Step three: images
Having chosen a theme and style, let’s start drawing sketches; the level of detail for beginners should be as high as possible, then it will be easier for you to draw everything in Illustrator.
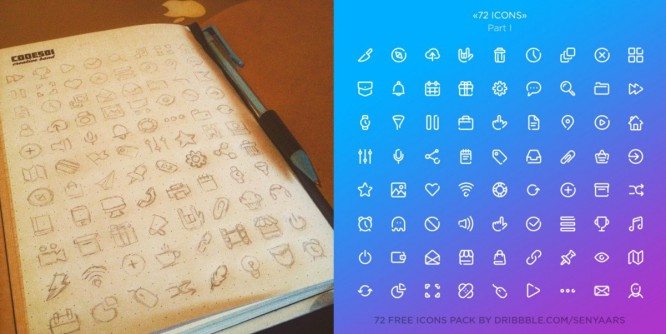
Experienced dudes may not sketch at all, but make themselves a list of images and immediately work with variations.
If you draw custom-made icons, draw sketches, so you avoid unnecessary work when drawing by showing your images to the customer in advance.
Step four: size
This is generally the most important thing: to decide on the minimum size.
What is it for? If you want your icons to have sharp edges, pixel perfect and scale correctly, you need to decide on the size and thickness of the objects in the smallest size (x1). I recommend using black icon sizes.
Step five: the process
Create a document with values.
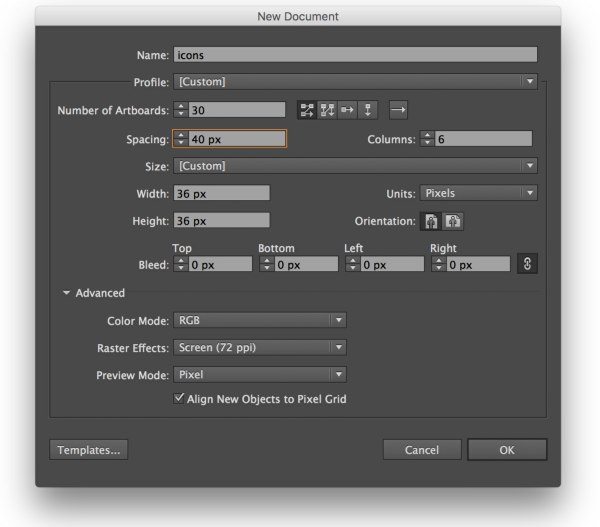
Spacing– distance between artboards.
Width and Height– the height and width of the artboard.
Raster Effects– resolution (ppi) for icons is 72
Align New Objects …– this checkbox is responsible for snapping points to the pixel grid. I advise you to turn it on, but in the course of work, you can always turn it off.
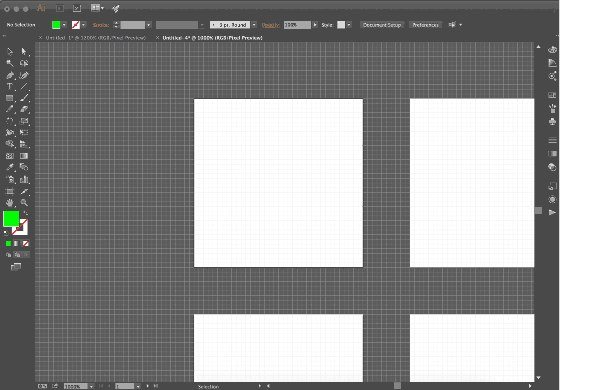
1. Select the first artboard, it will make all the icons, and the finished ones will be inserted on the adjacent artboards.
2. Create a square to fit the work area.
3. Arrange the guides to make drawing easier.
4. Use Pixel Preview
5. Mark ready-made icons in the list of images, so you can visually track your progress.
6. Follow the tips and previous article on 5 simple rules for creating beautiful icons.
7. Do not make your first set too big, you can get tired quickly and quit this business in half. The normal speed will be about 20 icons a day, then they can quickly get bored …
8. Design the source, and do not forget to put things in order in the layers, prepare a file for Photoshop and sketch for example.
9. Prepare a shot for dribbble and behance, create a post for social networks. This is the best PR for your work and new orders. Don’t forget the hashtags: #design #best #mamalubitmenya #kupiteikonky
Where can I sell icons
graphicriver.net is a free platform for trading any digital content.
creativemarket.com – to create an account here, you will be asked to show accounts on other stores and your portfolio.
thenounproject.com is probably the site with the largest base of icons, they are distributed for a choice: either for free or for a single payment, there is also a monthly subscription function, but I would not bet on this service if you want to make money.
icons8.com – I don’t know anything about this store, if anyone has experience, share it in the comments.
Lectures on icon creation
Taras Shipka – “Icons: how to do everything clearly and beautifully”
Dmitry Novikov – “Basics of creating icons in Adobe Illustrator”
Source: medium
…

