
How to make the background of a picture transparent in Photoshop
Need to make the background of a picture transparent? To do this, you need to download Adobe Photoshop. The safest option would be to download from the official website, but the licensed version is expensive. If you want to use the program for free, download it from any of the aggregator sites, for example https://free-photoshop-rus.ru.
Now let’s talk about how to make the background transparent in Photoshop.

Why do you need a transparent background
- There are several reasons for removing the background from a snapshot:
- Photo processing with goods for an online store.
- Placing an image on top of another image.
- Creation of a clip art.
- Website development.
An image with a transparent background can be saved to a computer in a suitable format and used in photomontages, collages, design of printed products, etc.
Step-by-step instructions for removing background in Photoshop
After you have downloaded and installed Photoshop on your computer, follow a few simple steps:
Step 1. Import your photo
Start the editor and click “File” – “Open”. You can also hold down the “Ctrl + O” key combination. Specify the path to the image and wait for the import to complete.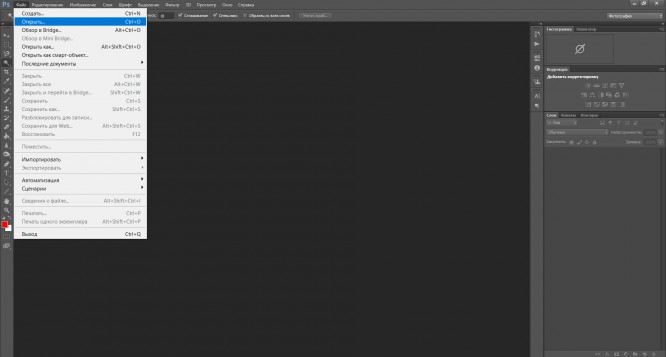
To adjust the scale of the picture, hold down the “Alt” key and scroll the mouse wheel. You can also use the Zoom tool in the left pane.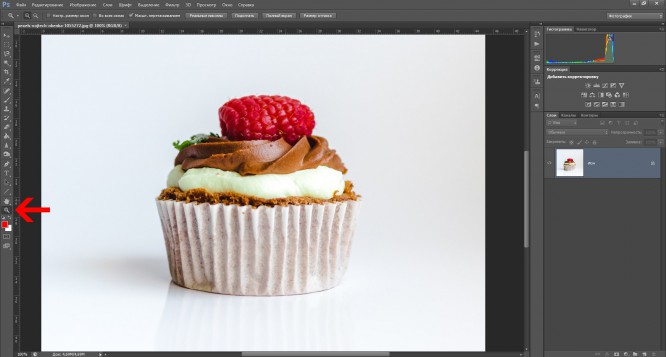
Step 2. Make the background transparent
Before deleting the background, you need to disable the docking of the background layer. To do this, double-click on the “lock” in the layers panel. In the window that appears, confirm the action.
How to make a white background transparent in Photoshop? For this, the program contains several functions:
1. Magic wand. In the left pane, right-click on the “Quick Selection” option and select the “Magic Wand” tool. At the top of the interface, enter the number 10 in the Tolerance line. Also change the selection type to Add to Selection. Click on the background several times. After selecting all areas, hold down the “Delete” key.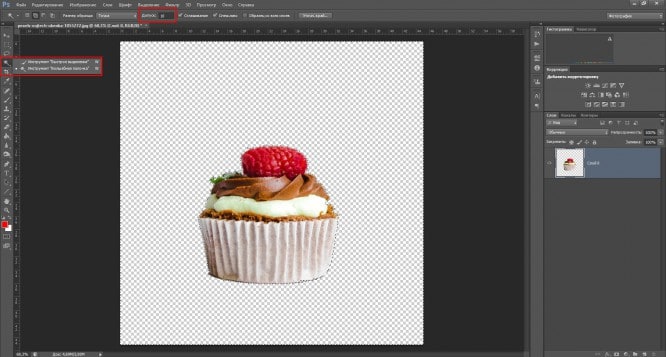
2. Magnetic lasso. This method works best for pictures with a white background and allows you to fine-tune the selection. But you will need to trace the object manually. Click on the Lasso tool with the right mouse button and select the desired option. Then carefully select the subject in the photo. The tool automatically creates stroke points, but you can also adjust their position. To do this, click in the desired place with the mouse. After you have selected an object, right-click on it and use the “Invert” function. Then delete the background.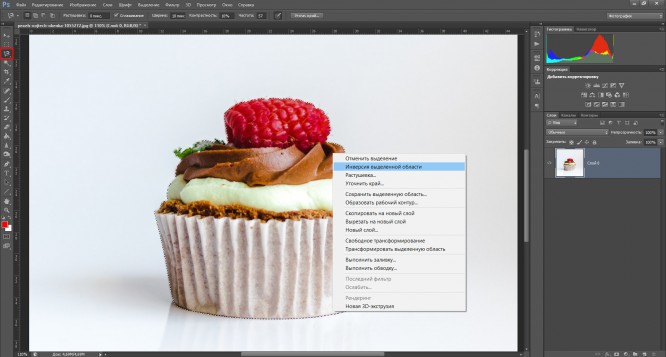
3. Quick mask. Turn on quick mask mode using the icon marked in the picture. Use a brush to paint over the object. You can adjust the size and hardness of the tool. Then switch to standard mode using the same button. Click “Delete”.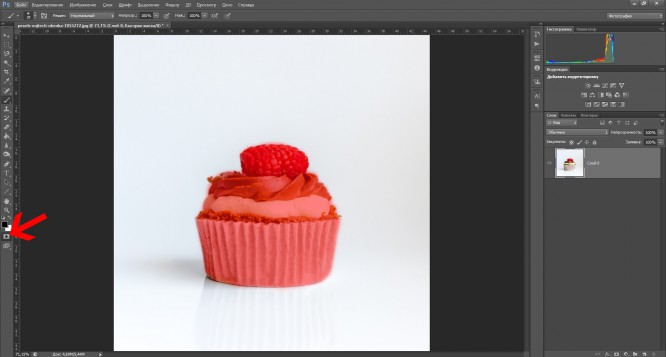
Step 3. Export the result
Before exporting, you can continue processing: adjust brightness and contrast, perform tint corrections, change curves, apply effects, etc.
Then open the “File” menu and click on the “Save As” line. You can also use the keyboard shortcut “Shift + Ctrl + S”. Be sure to choose the appropriate format: PNG or GIF. Specify the folder, enter the name of the document and confirm the save.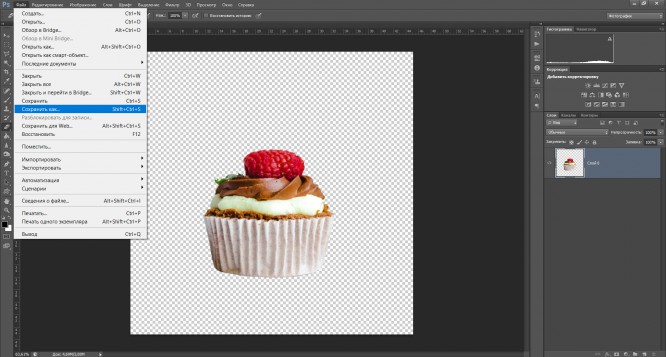
Conclusion
Now you know how to make a transparent background instead of white in Photoshop. The program contains several simple tools that will allow you to achieve high-quality results. You will be able to use a magic wand, lasso and quick mask. After removing the background, the software will allow you to continue editing: apply filters, adjust lighting, darken certain areas, create shapes and much more.

