
Creating an illustration for a website in the style of Flat
Creating an illustration for a website in the style of Flat
Lesson from the authors of the site Webdesign-Master on creating illustrations for the site.
Today we will look at creating an illustration for a flat-style website.

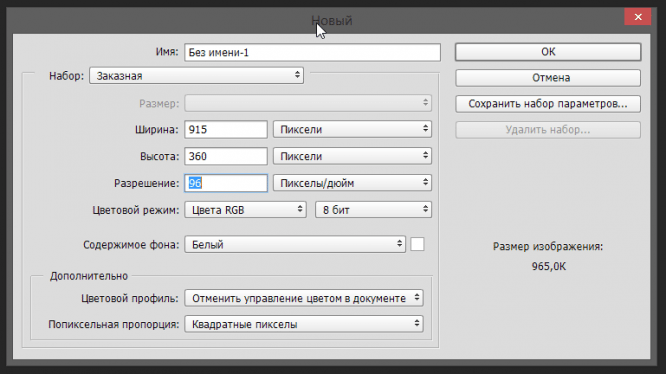
First, let’s open Photoshop and create a document with the following dimensions:
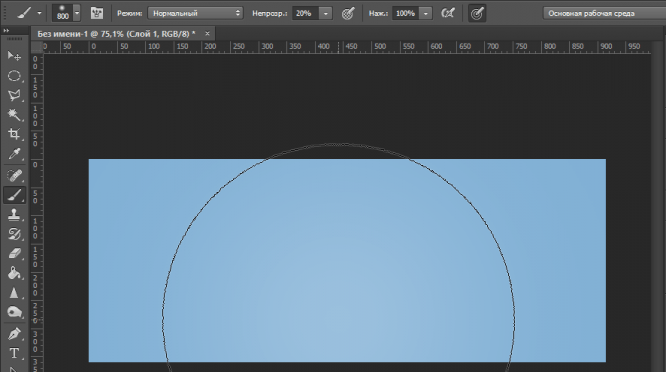
Create a new layer and fill it with # 81b0d5:

Let’s make a blue sky effect. To do this, create a new layer and use a soft white brush with an opacity of 25% to paint a barely noticeable spot of a fairly large size at the bottom of the rectangle:
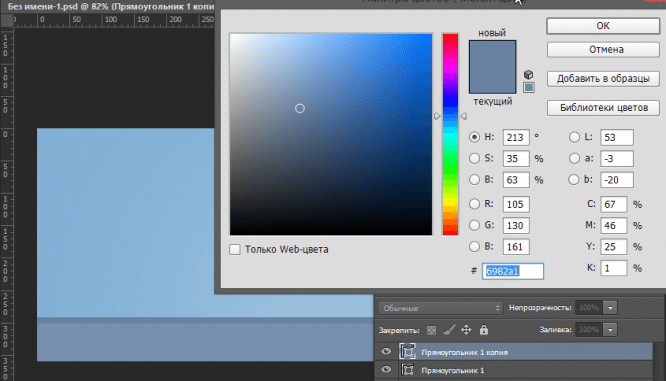
Let’s make a stand for the devices. To do this, create two rectangles of different thicknesses and fill the top with # 6982A1 and the bottom with # 7591AE:
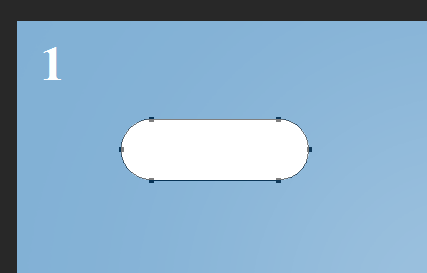
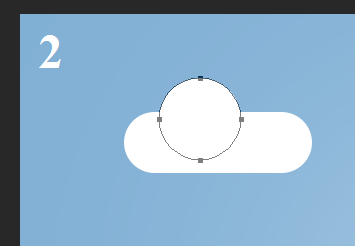
Now let’s draw the clouds. To do this, create a rounded rectangle and two circles with the Ellipse tool. Let’s make the second cloud by copying the first one and mirroring it to zoom out:

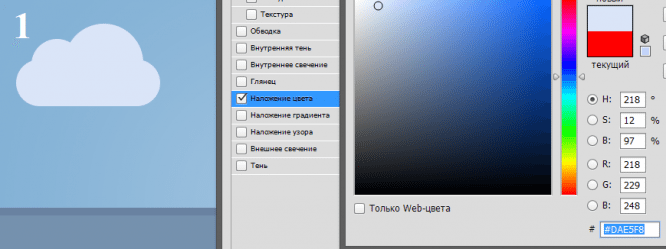
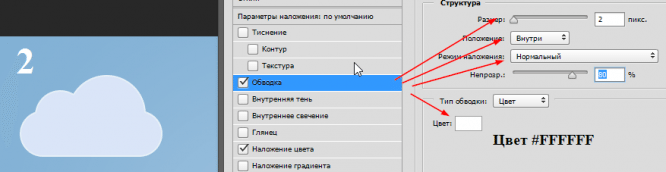
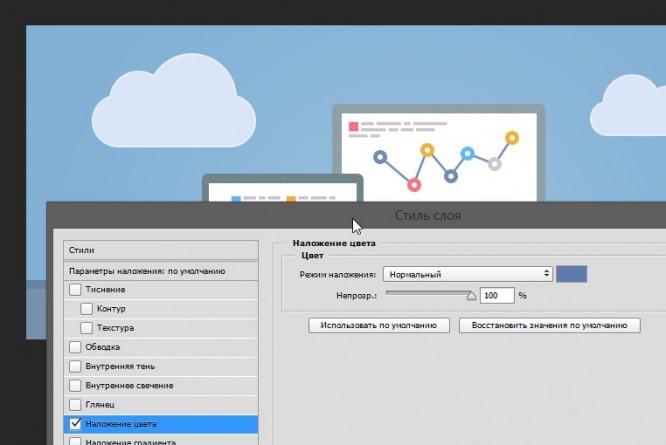
Let’s transform our clouds into smart objects and apply the following styles to them:
The background for our devices is ready, now let’s start creating the illustration objects themselves.
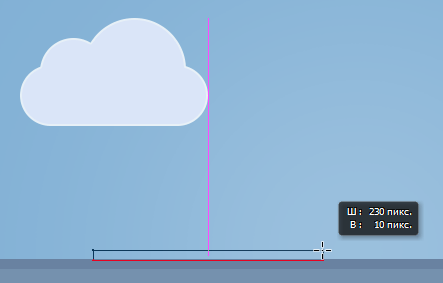
First, let’s draw a flat laptop. Let’s draw the base of the laptop with the “Rectangle” tool. Base width 230 pixels, height – 10:
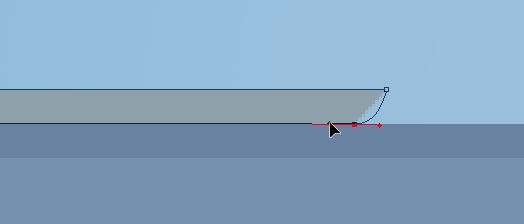
Fill the base with # 8EA1AB. Let’s make the bottom of the base rounded. To do this, use the perspective tool to bring the bottom points of the rectangle closer together:

And with the Pen tool with the Alt key pressed, add roundings:
We will do the same on the other side of the base.
Let’s create a laptop screen. Let’s make it a rounded rectangle. Radius of rounding, approximately 7 pix. Fill the shape with # 71838B:

Please note that the width and height of the laptop screen must correspond to the HD size so that the picture does not look too cartoonish. That is, the proportions of real devices must be observed.
Another important point – the screen should be already at the base. Since it is further away, according to the rules of perspective, it should be smaller.
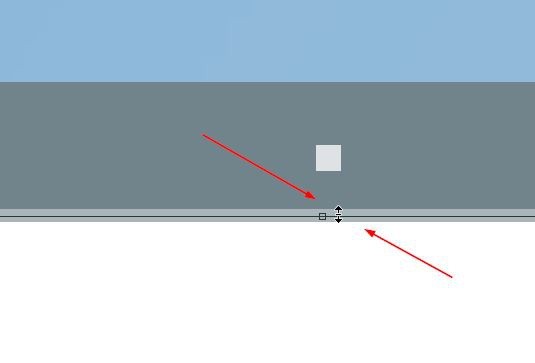
Add a small notch at the base. You can simply copy the base, shrink it and paint it with a lighter color:

In general, the Flat style is a very simplified style of drawing illustrations and icons. But the main ones, which give the objects a recognizable shape, should be.
Let’s add a screen and a flare of the webcam. Since the screen of laptops glows, it would be logical to make it pure white. We observe the proportions.

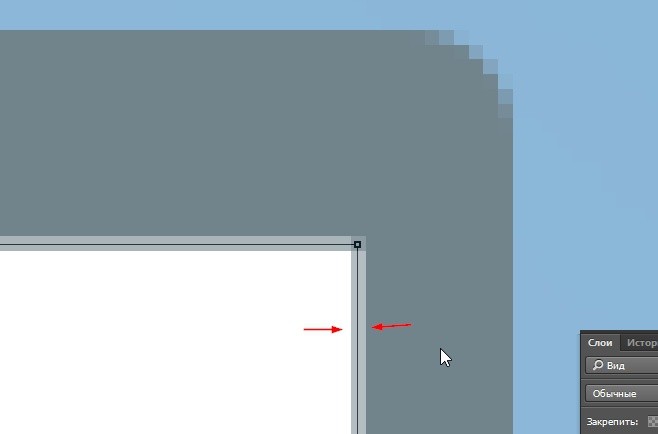
Note. Elements of a flat illustration should not be blurry. To do this, we enlarge each element and adjust it with the “Scale” tool:
Use the Rectangle and Text tools to fill the screen with colorful graphics and text:

Create a group of layers and send all the details of the laptop into it.
Create another layer group and place it below the laptop group. Let’s start drawing the monitor.
Just like in the first illustration – laptop, let’s create a screen with rounded corners. Fill the monitor frame with # 8EA1AB.
Don’t forget about proportions. If you do not know the proportions of devices, it is better to download their photos from the Internet and measure them with a ruler. For example, there is a good lineup mySize for Windows.
Do not forget, also, to “treat” aliases by scaling:
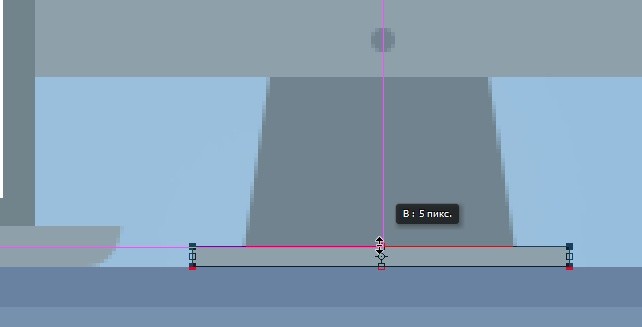
Let’s add some kind of a logo or a button at the bottom of the monitor frame and draw a stand. Stretch the stand into a small triangle by transforming the perspective. The color of the stand and the logo: # 71838E, the color of the base of the stand is the same as the base of the laptop – # 8EA1AB:
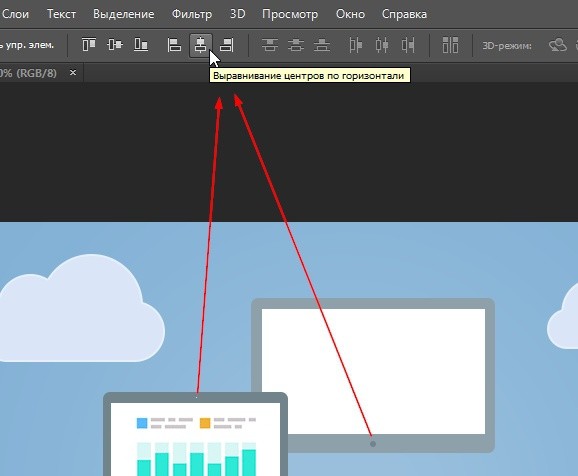
Align the elements in the center by selecting the frame relative to which we want to apply alignment and the element itself:
At the top left, draw a square in the monitor and write a random unreadable text, as we did in the screen of the first illustration:

For this illustration we will use any condensed font. You can find condensed fonts on the website fonts4web.ru by selecting the Compressed category.
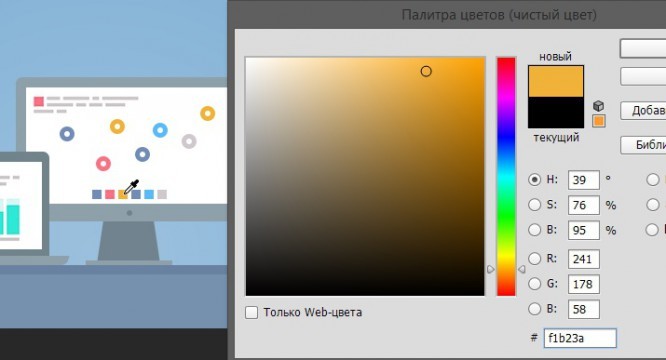
At the bottom of the monitor illustration, add 6 multi-colored squares, 10 x 10. The colors of the squares will correspond to the colors of the points on the diagram – # 728CB8, # FF7285, # F1B23A, # 728CB8, # 59BBFF and # CFC8CC:

Group the squares and align them to the center relative to the monitor illustration.
Use the Ellipse Tool to draw some circles, randomly scattered over the graph of the corresponding color. Draw a white circle inside each point of the graph. The colors for each point can be taken from the squares:
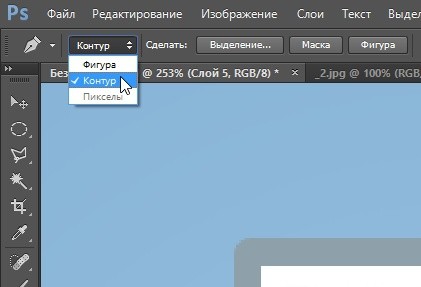
Below all the points, create a layer and draw a curve connecting the centers of all points with the Pen tool, having previously selected the Pen mode – “Contour”:

Next, from the context menu, by right-clicking, select the item “Stroke the path”. Set the tool – “Brush”.
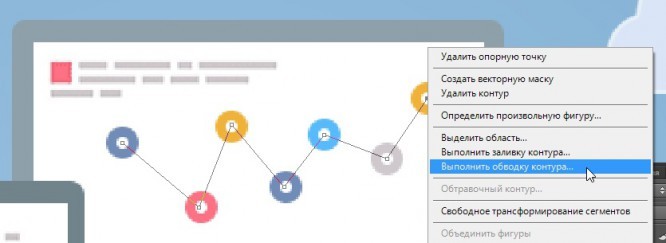

Brush options:

The opacity of the brush is 100%.
On the resulting shape, overlay the color # 5E7BAC:
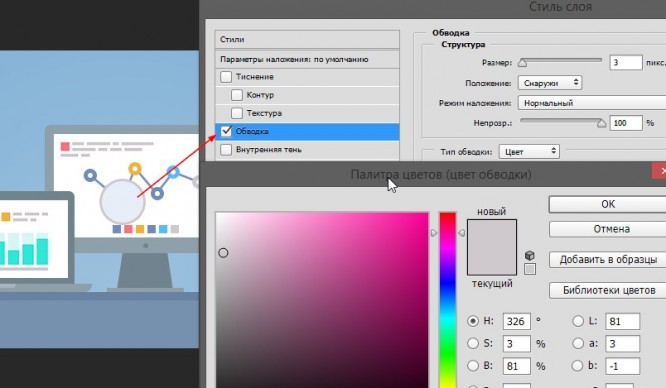
Let’s draw a magnifying glass that will enlarge the second node of the diagram. To do this, create a new circle and fill it with # E7EEF8. Add a 3 px Stroke to the circle with the color # CFC8CC:
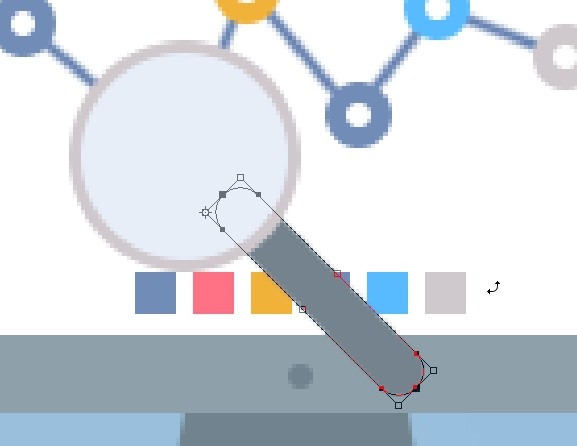
Use the Rounded Rectangle Tool to paint the extruded magnifier handle with color # 74838E and place it at an angle:
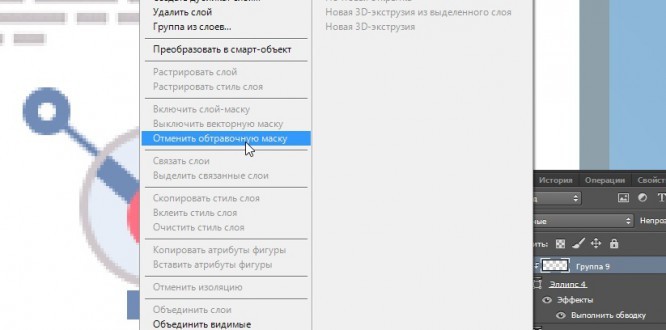
Now, inside the magnifying glass, in a new group of layers, draw the enlarged node with rectangles and rounds. To ensure that the enlarged node and connecting lines do not go beyond the boundaries of the magnifying glass, we will rasterize the group with the enlarged node and create a clipping mask:
As a result, we should have a monitor like this:

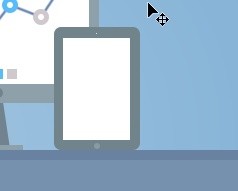
Let’s draw an illustration of an iPad. Don’t forget about proportions, webcam and a button at the bottom of the device. The frame is the same color as the laptop frame. We can copy the webcam and the button from the laptop and monitor. Button color # 889BA3:
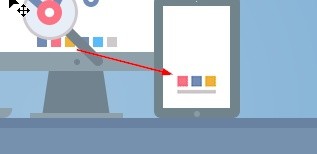
Copy the first 3 squares from the monitor and paste them down the iPad. Below we will write a random text in a light gray color:
Let’s draw a multi-colored pie chart:

Such a diagram can be drawn with the Ellipse tool. We make sections of the diagram by copying the circle and cutting off the contour. To trim the path, you can rasterize the ellipse and cut out the unnecessary with the Straight Lasso tool.
The final step is to draw an iPhone illustration in which we place the content. Draw the content with primitive shapes – “Ellipse” and “Rectangle”:

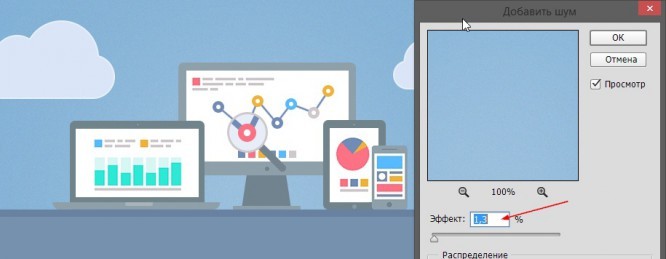
You can make the background of our illustration “Noisy”. To do this, select the background, go to the “Filter> Add Noise” menu and set the following parameters:
Our illustration is ready. Thank you for your attention and every creative success!
The result of drawing an illustration in the “Flat” style
Source: webdesign-master
PS: well, if you want to learn how to draw interfaces in Illustrator, then read the article How to create interfaces in Adobe Illustrator
…

