

How to Fix NVIDIA Installer Failed Error Code 0x80070005 on Windows?
NVIDIA graphics drivers are the bridge between your graphics card and Windows. They control how your GPU talks to the operating system and your games. Without the right driver, you can face crashes, stutters, or missing features in apps like the NVIDIA Control Panel.
Sometimes, when you try to install or update these drivers, the process fails. You might see a message saying NVIDIA Installer Failed, followed by error code 0x80070005. This error stops the driver from finishing its setup, leaving your GPU without the latest fixes and optimisations.
For most users, it happens in GeForce Experience or when running the standalone installer from NVIDIA’s website. To understand why, you first need to know what this error means and what can trigger it.
What Does NVIDIA Installer Failed Error Code 0x80070005 Mean?
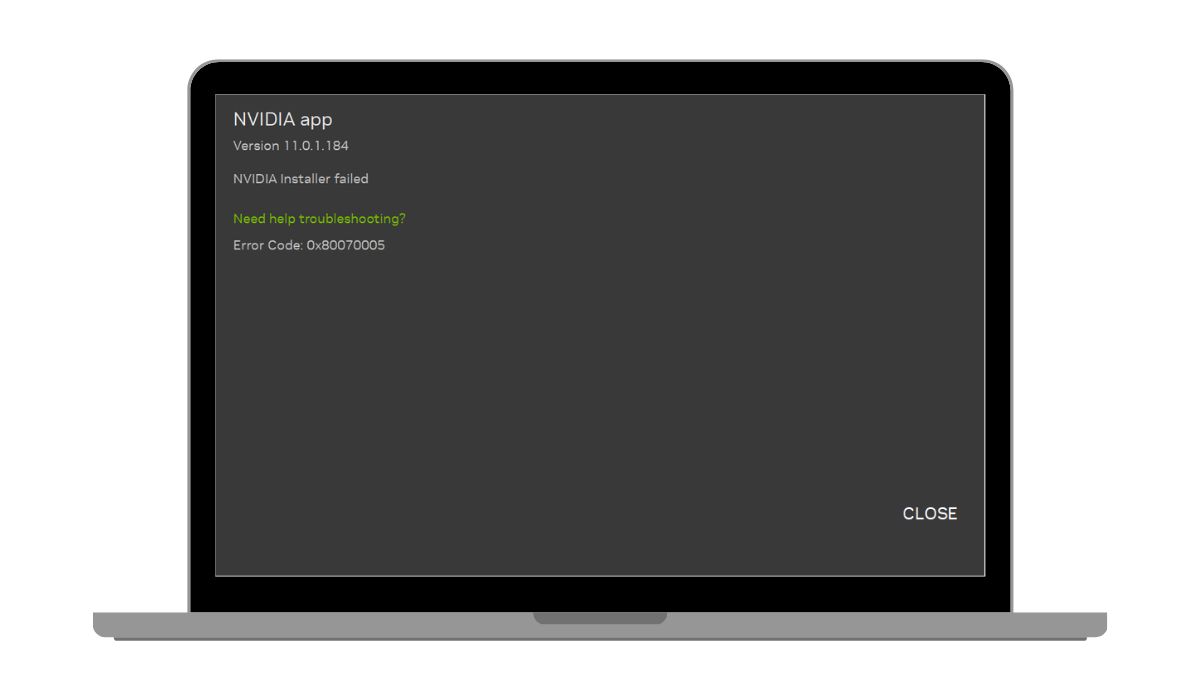
The code 0x80070005 is a Windows error that translates to Access Denied. It’s not unique to NVIDIA — the same code appears in Windows Update and software installers when something blocks access to required files or registry keys.
During NVIDIA driver installation, this can happen if your user account lacks administrator permissions, if a security program blocks the installer, or if a Windows service fails to respond. It’s a permissions problem at the core, but the cause can vary from system to system.
You’ll usually see it mid-installation. The NVIDIA setup might extract files, begin installing components like the graphics driver or PhysX, and then stop with this error.
Common Causes of NVIDIA Installer Failed Error Code 0x80070005
The same thing doesn’t always cause this installation failure. In fact, there are several common reasons why 0x80070005 can appear during an NVIDIA driver update or fresh install:
- Lack of administrator permissions: Installing drivers changes system files, so you need full admin rights.
- Antivirus or firewall blocking installation: Security tools like Windows Defender or third-party antivirus can block driver files from being written.
- Corrupted or incomplete driver files: A damaged download or interrupted update can leave missing INF files or broken archives.
- Windows Installer or related services not running: The NVIDIA setup depends on Windows Installer and other background services.
- Old driver remnants conflicting with new ones: Leftover files from older driver versions can cause conflicts during setup.
- Locked or read-only temp folders: If your AppData or Temp directories are locked, the installer can’t write temporary files.
- Pending Windows updates or system file issues: Outdated or damaged system files can block the driver from installing properly.
These causes can overlap, which is why the fixes cover multiple areas, from permissions and services to file cleanup and system health.
How to Fix NVIDIA Installer Failed Error Code 0x80070005 on Windows?
The error usually comes down to permissions, conflicting files, or security software interference. Try these solutions in order, starting with the simplest.
Fix #1: Run the Installer as Administrator
This error often happens because the installer can’t make system-level changes without full admin rights.
Right-click the NVIDIA setup file or GeForce Experience installer, select Run as administrator, confirm the UAC prompt, and let the installation finish. Many times, this alone bypasses the Access Denied block.
Fix #2: Temporarily Disable Antivirus or Firewall
Security tools can misidentify driver components as suspicious and block them. Turning them off briefly during installation removes that barrier.
- Open your antivirus dashboard (Windows Defender or third-party).
- Turn off real-time protection temporarily.
- Disable the Windows firewall from the Control Panel.
- Run the NVIDIA installer, then re-enable both security tools afterwards.
Fix #3: Use Display Driver Uninstaller (DDU) to Remove Old Drivers
Leftover driver files can cause conflicts that trigger installation errors.
Display Driver Uninstaller is a trusted tool for completely removing NVIDIA drivers.
- Download DDU from the official site.
- Boot into Safe Mode to prevent Windows from loading extra drivers.
- Run DDU, choose NVIDIA, and select “Clean and restart.”
- Once back in normal mode, install the new driver.
Fix #4: Check Windows Installer and Related Services
The NVIDIA setup depends on Windows services like Windows Installer, Windows Update, and Background Intelligent Transfer Service. If they’re stopped, the installation can fail.
Make sure these services are running and set to Manual or Automatic, then try installing the driver again.
Fix #5: Install Drivers in Safe Mode
Safe Mode loads minimal drivers and background services, reducing the chance of conflicts from other programs.
If your standard installation keeps failing, boot into Safe Mode with Networking and run the NVIDIA installer there. Once the driver is installed, restart your PC normally.
Fix #6: Free Up and Unlock Temp and System Folders
The installer writes temporary files to folders like %temp% and AppData. If they’re full or locked, installation may stop.
- Press Windows + R, type
%temp%, and delete everything inside. - Check the folder’s Properties and make sure Read-only is unchecked.
- Repeat the process for
C:\Users\[YourName]\AppData\Local\Temp. - Restart your computer before retrying the driver install.
Fix #7: Manually Download the Correct Driver from NVIDIA’s Website
Sometimes the copy downloaded by GeForce Experience is incomplete or corrupted.
Getting the driver directly from NVIDIA’s official site ensures a clean, verified package. Select your exact GPU model, operating system, and driver type (Game Ready or Studio), then download and run it as administrator.
Fix #8: Check for and Install Pending Windows Updates
Windows updates can fix certificate and compatibility issues that stop drivers from installing
- .Open Settings > Windows Update, click Check for updates,
And install anything important or recommended before trying again.
Fix #9: Repair System Files
Corrupt or missing system files can block driver installation.
Running built-in Windows repair tools can fix these problems.
- Open Command Prompt as administrator.
- Run
sfc /scannowand wait for it to finish. - Then run
DISM /Online /Cleanup-Image /RestoreHealth. - Restart your PC after both scans.
Fix #10: Create a New Administrator Account and Install
If your current Windows profile is corrupted, a new admin account can provide a clean environment for the installation.
After creating and logging into the new account, run the installer. If it works, you can switch back to your main account and keep the driver.
Fix #11: Contacting NVIDIA or Microsoft Support
If none of these work, gather your installer logs from %ProgramFiles%\NVIDIA Corporation\Installer2, note the exact error message, and send them to NVIDIA Support.
If you see 0x80070005 with other installers too, contact Microsoft Support, as it might be a broader Windows permissions problem.
Tips to Prevent Driver Installation Issues
Simple habits can keep your NVIDIA GPU running smoothly and help you avoid the 0x80070005 error in the future.
- Always download drivers directly from NVIDIA’s website.
- Remove older drivers before installing new ones.
- Keep Windows updated regularly.
- Create a restore point before major driver changes.
- Avoid running multiple background security tools during installations.
- Run installers as administrator.
- Check that Temp and AppData folders have proper permissions.
Conclusion
The NVIDIA Installer Failed – Error Code 0x80070005 usually points to a permissions problem, security software interference, or leftover driver files. By tackling these areas step-by-step, you can usually get the driver installed and your GPU back to peak performance. Preventative habits, such as clean installs and regular updates, significantly reduce the likelihood of encountering this error again.

