

How to Maximize RAM Upgrade on Acer Predator 17 G9-793
The Acer Predator 17 G9-793 remains a powerful gaming laptop, but like many high-performance systems, it can benefit significantly from a RAM upgrade. Whether used for modern gaming, video editing, 3D modeling, or multitasking-heavy workflows, increasing memory capacity can unlock smoother performance and better system responsiveness. Understanding how to properly select, install, and configure RAM ensures users get the maximum benefit from their investment.
TLDR: Upgrading the RAM in the Acer Predator 17 G9-793 can dramatically improve multitasking, gaming stability, and content creation performance. The laptop supports up to 64GB of DDR4 memory across four slots. Choosing compatible modules, installing them correctly, and optimizing BIOS settings are essential steps. Proper configuration ensures users fully maximize the system’s capabilities.
Understanding the RAM Specifications of Acer Predator 17 G9-793
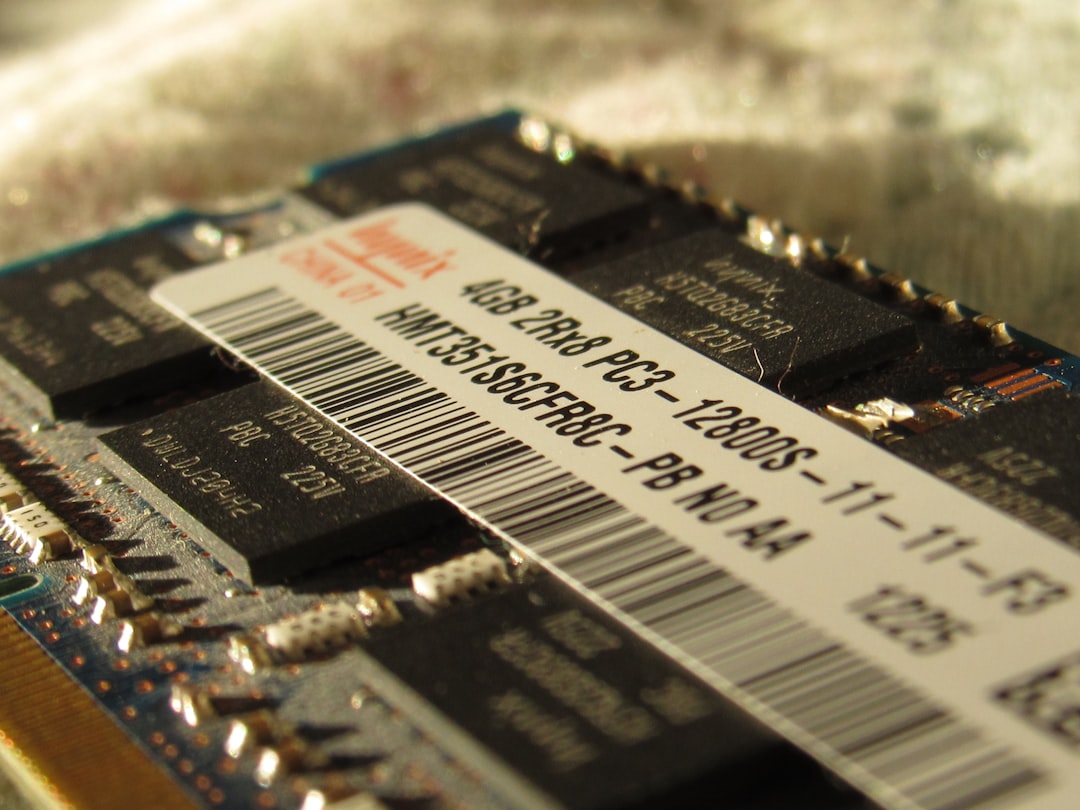
Before upgrading, it is essential to understand what the system supports. The Acer Predator 17 G9-793 is powered by Intel 6th or 7th generation Core processors, depending on configuration. It uses DDR4 SODIMM memory and supports:
- Maximum Capacity: 64GB (4 x 16GB)
- Memory Type: DDR4 SODIMM
- Speed Support: 2133 MHz or 2400 MHz (depending on CPU model)
- Number of Slots: 4
Many factory configurations ship with 16GB or 32GB, often leaving room for expansion. Users looking to future-proof their device for modern workloads may consider upgrading to 32GB or even 64GB.
Why Upgrade the RAM?
Increasing RAM delivers several tangible benefits:
- Smoother multitasking when running multiple applications.
- Improved gaming stability in memory-intensive titles.
- Faster video editing and rendering performance.
- Reduced system lag during heavy browser use.
While RAM upgrades do not directly increase GPU or CPU speed, they reduce system bottlenecks caused by insufficient memory allocation.
Choosing the Right RAM Modules
Selecting compatible memory is critical. Users should ensure:
- The RAM is DDR4 SODIMM (not desktop DIMM).
- The speed matches supported frequencies (2133 or 2400 MHz).
- The voltage is standard DDR4 (1.2V).
- It comes from reputable brands for reliability.
While mixing different RAM brands is technically possible, it is best practice to install matched kits to ensure stable dual- or quad-channel operation. Matching capacity and speed helps the system maintain optimal performance balance.
Preparing for Installation
Upgrading RAM in the Predator 17 G9-793 is relatively straightforward but requires care. Proper preparation minimizes risk.
Necessary tools and preparation:
- Small Phillips screwdriver
- Anti-static wrist strap (recommended)
- Clean, flat surface
- Power adapter disconnected
Important: The laptop battery should be disconnected before installation to prevent electrical damage.
Step-by-Step RAM Installation
- Power off the laptop completely.
- Disconnect the charger and any peripherals.
- Turn the laptop over and remove the service panel screws.
- Carefully remove the access panel.
- Locate the RAM slots (two are typically easily accessible; two may be under the keyboard in some configurations).
- If replacing modules, gently spread the side clips and slide out the old RAM.
- Insert the new RAM at a 30-degree angle.
- Press down firmly until the clips lock in place.
- Reattach the panel and screws.
- Power on the system and verify recognition in BIOS or Windows.

Maximizing Performance After Installation
Simply installing RAM is not always enough to achieve peak performance. Optimization is equally important.
1. Enable Dual or Quad Channel Mode
The Predator 17 supports multi-channel memory architecture. To maximize bandwidth:
- Install RAM in matched pairs.
- Use identical sizes for best results.
- Avoid uneven capacity combinations where possible.
For example, two 16GB sticks will perform better together than one 32GB and one 8GB stick due to proper channel balancing.
2. Verify in BIOS
After installation, users should enter the BIOS (usually by pressing F2 at startup) and confirm:
- Total memory detected.
- Correct memory speed displayed.
Although advanced XMP profiles are limited in many laptops, confirming proper speed ensures no compatibility downclocking occurs.
3. Update BIOS and Drivers
Installing the latest BIOS update from Acer’s official support page may improve memory compatibility and stability. Driver updates also ensure optimal system resource management.
4. Adjust Virtual Memory Settings
With increased RAM, Windows paging file settings can be optimized. While Windows typically manages this automatically, users working with professional applications may tweak virtual memory settings for improved performance stability.
Is 32GB or 64GB Worth It?
The decision to upgrade beyond 32GB depends on usage:
- 16GB: Sufficient for most modern gaming and general multitasking.
- 32GB: Ideal for content creators, streamers, and heavy gamers.
- 64GB: Best for professional workloads like 4K editing, virtual machines, CAD, or large-scale data processes.
For the majority of gamers, 32GB offers the best balance between performance and cost. Power users engaged in productivity-heavy environments may justify the jump to 64GB.

Common Mistakes to Avoid
Upgrading RAM is simple, but certain mistakes can reduce effectiveness or cause system instability:
- Buying incompatible DDR4 desktop DIMM memory.
- Mixing different speeds that force downclocking.
- Forcing modules into slots incorrectly.
- Failing to disconnect power or battery.
- Ignoring BIOS updates.
A careful approach ensures the upgrade process remains smooth and safe.
Performance Expectations After Upgrade
Users upgrading from 16GB to 32GB often report:
- Reduced game stuttering.
- Faster level loading times.
- Smoother streaming while gaming.
- More stable Adobe Premiere or After Effects performance.
Those expanding to 64GB notice significant improvements in virtualization tasks and memory-hungry creative suites. However, gaming performance gains beyond 32GB may show diminishing returns unless playing extremely demanding titles with background applications running.
Maintaining Long-Term Stability
After installation, users should monitor system stability:
- Run Windows Memory Diagnostic tool.
- Use MemTest86 for deep testing.
- Monitor temperatures to ensure airflow remains unobstructed.
Because the Predator 17 is a high-performance gaming laptop, maintaining internal cooling cleanliness contributes indirectly to memory stability and overall system health.
Final Thoughts on Maximizing RAM Upgrade
The Acer Predator 17 G9-793 was designed with upgrade flexibility in mind. By selecting compatible DDR4 SODIMM modules, installing matched kits, and verifying BIOS recognition, users can dramatically extend the laptop’s longevity. With the right configuration, this system remains competitive in gaming and professional tasks even years after its release.
RAM upgrades offer one of the most cost-effective ways to boost performance. When executed correctly, the improvement in multitasking, content creation, and high-end applications is immediately noticeable.
FAQ
How much RAM can the Acer Predator 17 G9-793 support?
It supports up to 64GB of DDR4 SODIMM memory across four slots.
What type of RAM does it use?
It uses DDR4 SODIMM modules, typically running at 2133 MHz or 2400 MHz depending on the processor.
Can different RAM brands be mixed?
Yes, but it is not recommended. Using matched kits ensures better stability and optimal multi-channel performance.
Will upgrading RAM increase FPS in games?
It may improve stability and reduce stuttering, but it does not directly increase GPU or CPU processing power. The biggest gains are seen in multitasking scenarios.
Is 64GB overkill for gaming?
For most games, yes. 32GB is typically more than sufficient unless the system is also used for heavy productivity workloads.
Do users need to change BIOS settings after installation?
Generally no, but it is advisable to verify that the system detects the full amount of memory and that it is running at the correct speed.
Is professional installation required?
No. Users comfortable with basic laptop disassembly can perform the upgrade themselves, provided they follow proper safety precautions.

