
5 ways to create vector art in Adobe Illustrator
5 ways to create vector art in Adobe Illustrator
Microstocker and illustrator Olga Zakharova told several ways that she uses when creating another illustration for sale or for a commercial order. The methods are simple and, for sure, most of the practicing illustrators know about them, however, they are all fraught with nuances that are worth paying attention to.
When I first started blogging, I didn’t understand anything about stocks at all and knew very little about creating vector illustrations. Therefore, I wanted to share with the world every important discovery – I understood that just as I recently suffered, not knowing how to make a seamless texture, now someone else is suffering 🙂
Now it’s harder. Because the stage of “newbie” has already passed, and many things seem so obvious to me that until one of the newbies begins to ask questions about them, it does not occur to me to write about them. Therefore, guys, do not hesitate to write comments, ask all questions, even those that seem stupid (there are no stupid questions).

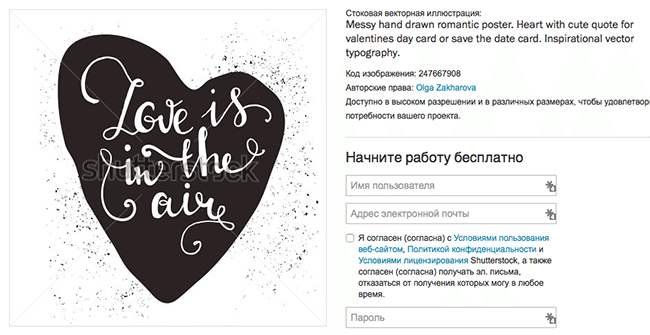
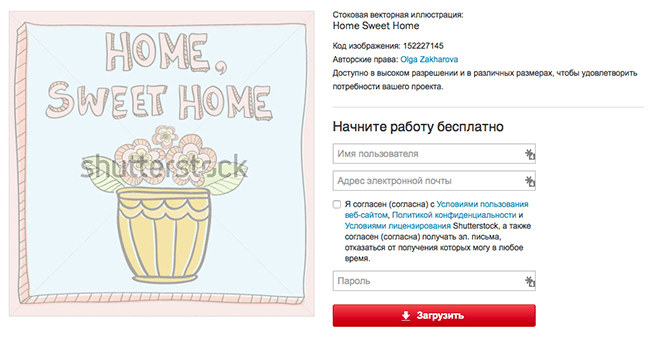
Three pictures – three different ways to create. Can you guess which one? 🙂
This is all about the fact that I was recently asked here – how is it more convenient to outline a picture in Illustrator?
After all, there are many ways to turn an idea or sketch into a vector picture using our favorite program 🙂 And I decided to describe the most famous methods – with their pros and cons. I myself use it in different ways – depending on the result I want to get.
Image Trace
The most automated way to make a vector image out of a sketch, and, as it seemed to me before, the fastest (disclaimer – I don’t think so now).
Image tracing is carried out using the image trace panel (upper Window panel – Image Tace) – just place your sketch on the workspace, open the panel, select one of the presets in the drop-down menu (everyone has different settings, you can choose the best one by typing) – for example, sketch – and in a minute or two your file is turned into a vector. Then you just need to remember to remove the “garbage” – different empty paths that are formed in the process. To do this, without removing the selection from the traced object, go to the top menu Object – Path – Clean Up.
Trace is ready! As they said at one of my past jobs, “I pressed the button and go to the cashier.” But, alas, things are not so simple.
The result of the trace looks cool only when the original sketch picture was of high quality (clear lines with a minimum of shaking, no fuzzy lines, etc.), then it was scanned with a decent DPI and at least a little processed in Photoshop (whitening the background, adding contrast) … In all other cases, the trace needs some work.
I do this: turn on the visibility of the paths (cmd + H), select a contrasting color for them in relation to the stroke (double click on the layer name) – and, increasing the picture to 200-300%, check the accuracy of the lines. A regular pencil helps me a lot in this – I like it more than an anti-aliasing one – and a plug-in from Astute Graphics Smart Remove Brush Tool, which can remove unnecessary points, minimally changing the line.
Here it is important not to overdo it in “licking” the picture – if you need perfect straight lines – faster use one of the tools, which will be discussed below. It is reasonable to use a trace when you want to preserve the “hand-painted” effect.
I currently only use trace for quotes like this:
Pros and cons of the trace:
+ You can relatively quickly turn a good sketch into a vector image while maintaining the hand drawn effect
– It takes time to process
– The whole object is already vector, that is, it is more difficult to change the thickness of the lines
– The lines will not be perfectly straight (this is also a plus)
My verdict is that you need to use the trace wisely, applying it not to everything in a row to save processing time, but to selected pictures in order to preserve the “manual” effect and a certain carelessness of the lines.
Blob Brush
Of all the illustrator’s tools, a blob brush is the most similar to a real, live brush. For this, artists are very fond of him, who switch from live drawing or drawing in Photoshop to a vector. The beauty of this tool can only be appreciated by those who have a graphics tablet – with it you can control the thickness of the lines by pressing.
This instrument has so many fans that it’s even embarrassing for me to admit that I don’t like it and practically do not use it at all. This evokes in people about the same emotions as when I say that I do not like The Master and Margarita. But that is – that is 🙂 Examples of blob brush use in my portfolio can be found only on very, very old pictures, which, most likely, will be deleted during the next cleaning.
 One of my first blob brush pictures
With a blob brush, you can draw lines in the same way as you do with a felt-tip pen on paper (comparing with a brush, it seems to me, is not entirely correct, since the transparency of the blob brush is not regulated by pressure), provided, again, you have a tablet.
Pros and cons of blob brush:
+ Makes it easier for artists to transition from raster to vector
+ Simulates live drawing
– You need a tablet to appreciate all the beauty (and the ability to draw will not hurt either)
– The thickness of the lines can be set only before drawing, as soon as the line is drawn – it is, in fact, a vector object with a fill, – as in the case of a trace, it is difficult to adjust the thickness after the fact
Pentul / Pentool
Probably the most incomprehensible tool for beginners, which turns out to be an extremely convenient and functional thing when you get to know it better. Very soon I will add a lesson to the store about how to make Bezier curves my best friends, because I myself spent a lot of nerves on them at one time.
The pen is the tool most distant from artists and closest to graphic designers, because in order to draw a line, you do not need to draw a line with a brush / pencil, etc., but put a point, then another one, and so on, adjusting the bend and length with the curve handles.
For some reason, it seems to me that girls draw the blob with a brush more, and boys draw more with a pentule, because it is so strict and serious. And yes, this is my favorite instrument. True, not a standard pentule, but an upgrade from Astuta Graphics called Vector Scribe.
Pros and cons of pentula:
+ Clean and neat lines
+ You can adjust the thickness of the drawn lines / picture at any time in a couple of seconds until the expansion is made (which must be done before sending to the stock, but it is better to save an unexpanded copy in the working file)
+ Pentule is a great way to create pictures for stocks for those who cannot draw in the classical sense of the word
– All drawing comes down to placing points and turning the handles – this is annoying for many creative people
– It is also useful to master the Shape Builder Tool and the Pathfinder panel, because a regular eraser will not help to remove unnecessary ones
– To learn how to confidently handle the pentule, you need to master a certain amount of theory and a lot, a lot of practice, while at first the lines will turn out to be crooked and it will take a lot of time to draw
Brush (regular) / Brush
A trade-off between a pentule and a blob brush for those who want to draw lines, not dots, and still have more control over how the line looks.
That on the line drawn with a brush, that on the “pentule” one can “put” a huge number of different brushes – from the standard library (though officially they cannot be used on stocks), or !! their own, each time getting a new result. Then you need to remember to expand this whole thing (that is, turn it into a vector using the Object – Expand command).
Pros and cons of the brush:
+ The ability to edit lines is preserved and you can draw with your hands (not with dots)
– Need a tablet
– The lines are almost always not the way I want them, – maybe my hands are crooked, but according to my feelings, the same blob brush allows you to more accurately control the line
The blob brush and brush have their own individual settings, which can be reached by double-clicking on a specific tool in the left panel.
For a brush, you can adjust the sensitivity and smoothness of the line, for a blob brush, you can also enable or disable automatic sticking of objects of the same color to each other. I have nothing to tell about the settings in detail, because I have standard ones.
Simple geometric shapes
We are talking about a square, a circle, lines, polygons – most often, of course, they are used not by themselves, but in combination with a pentule. Drawing with geometric shapes is suitable for those who love geometricity in pictures, enjoy clear shapes and a minimum of points on the paths 🙂 Previously, I used shapes only for some obvious actions – for example, I made the eyes of a character using a circle, or a frame of a house with using a square.
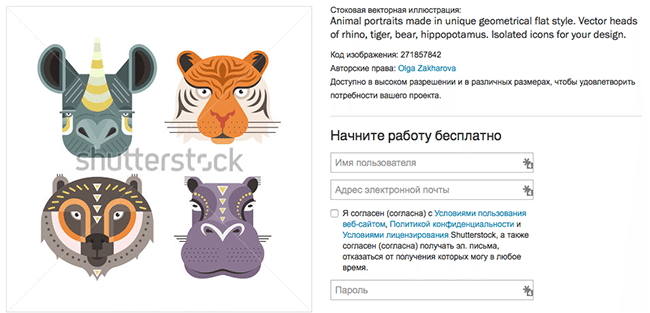
After taking the course Illustration for Designers: Create Your Own Geometric Animal on Skillshare, I reimagined the role of shapes in pictures and became interested in learning how to see shapes in objects. This is how a series of animals was born, which I plan to continue shortly:
Pros and cons of drawing with shapes:
+ The lines are perfect, no need to think about where to put the point and how to pull the handle
– It is very difficult for most people to readjust to “thinking in forms”
– You still have to use additional tools – pentule, passfinder panel or shape builder tool
About 80% of my current pictures are drawn by the InkScribe plugin – the same analogue of the Astute Graphics pentule, which I already mentioned (by the way, I plan to write a separate post about Astute plugins as soon as the potential size of this post ceases to scare me).
The remaining 20% is traces, simple shapes and sometimes the Dynamic Sketch Tool. This is something like a pencil, only more accurate and with more settings (again, Astutovsky).
Which tool will be more convenient / faster to draw for you personally, except for you, no one can decide. Therefore, my main advice is to try them all, apply for different pictures, different styles, in different situations, and do not let someone else’s opinion influence you. Because for some, the blob brush is the most beautiful and cutest of all, and for someone, in order to draw cool pictures, they don’t need a tablet – they cope with a mouse and a pentula.
Cover photo: ShutterStock
…

