
10 tricks in Photoshop, which … then come up with yourself
10 tricks in Photoshop, which … then come up with yourself
Hey! My name is Vlad Ayuev and I am a designer.
It has long been itching to talk about designer things (actually, just applied techniques)which I picked up from other designers in these fashionable Moscow agencies.
I constantly pestered art directors with questions, pestered, even begged, and sometimes I just sneaked up from behind and silently peeped
into the computer. And you know, it helped a lot.
I will only tell you what I learned during my work, so if I write some kind of obviousness, you should not throw hats at me.
I know one art director, now the founder of his own agency, he doesn’t know how to use shapes in Photoshop – and nothing, FWA and all that.

Everything that is listed below concerns work in Photoshop.
1. Forget about destructive changes
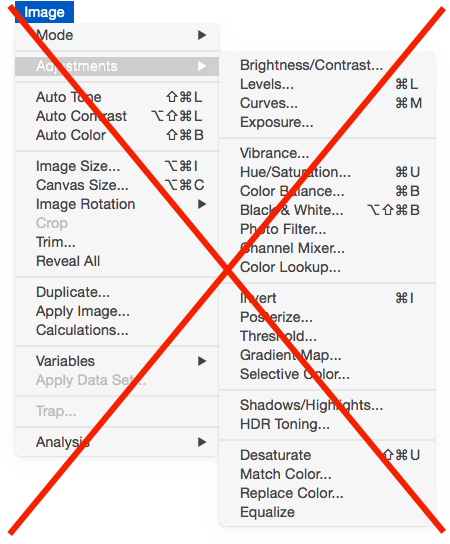 You should almost forget about the existence of a tab Adjustments, because all the effects in it can be done only once. This destructive tab is shorter.
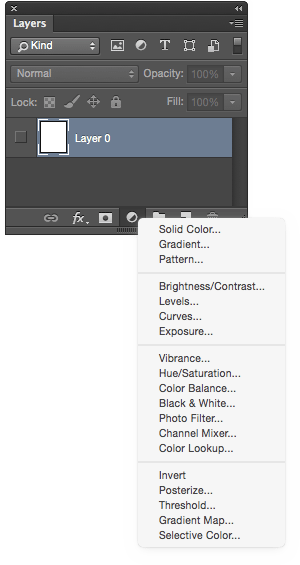 And you need to use this one in layers, because here are the same effects, but they lie in a separate layer and you can tweak them at any time.
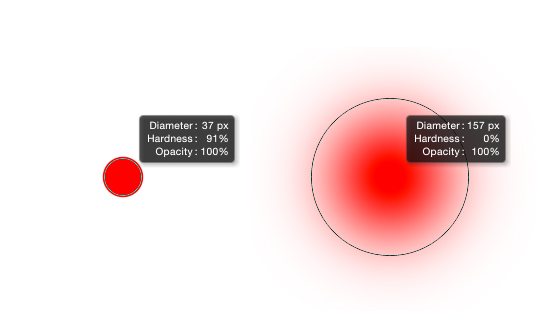
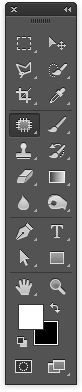
2. Changing the stiffness of the pen
Whoever doesn’t have a tablet is a goof (only if it is not Sasha Voronkov), so if you don’t have it, buy it urgently
and learn how to use it.
You don’t have to press to change the size and stiffness of the pen [ и ], and clamp CTRL + ALT and move them around the tablet left-right and up down…
3. Remove all empty layers
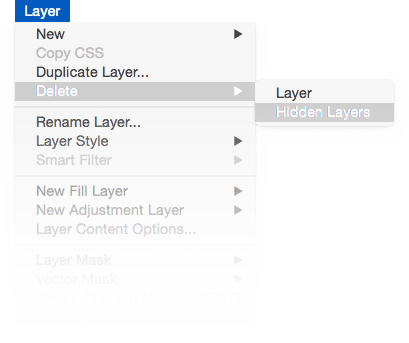
With one click, it removes all empty layers and immediately becomes clean. Very comfortably.
4. Big Brother of Stamp – Patch
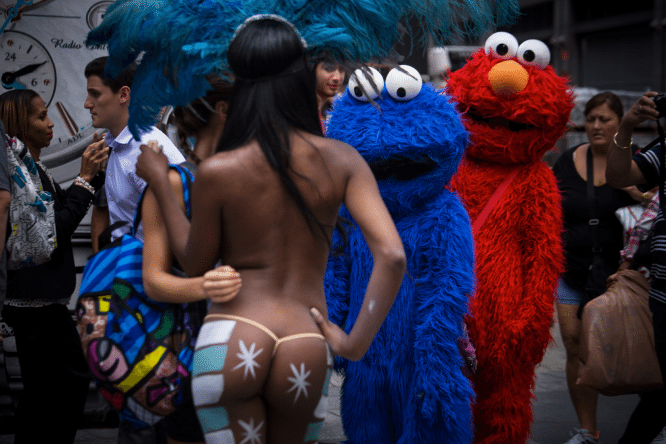
 I love this photo.
Interestingly, by the way, red has a nose, while blue does not.
Here it is necessary, for example, to remove the nose of the red too.
There is a great tool for this – the killer of all acne – Patch.
We outline the detail we don’t need and drag it to the place of the picture with the texture we need, as in the pictures below.

5. “Brazilian School” (cited by Sergei Andronov)
 If you are a happy owner of a tablet, then in the settings for the upper pen button (by the way, some don’t use them at all) can be put the ability to scroll.
At this point, you can stop pinching the space bar with your other hand in Illustrator, for example, and generally forget about any sliders.
Well, in general, everything will be faster this way – even the Facebook feed.
6. Shape settings
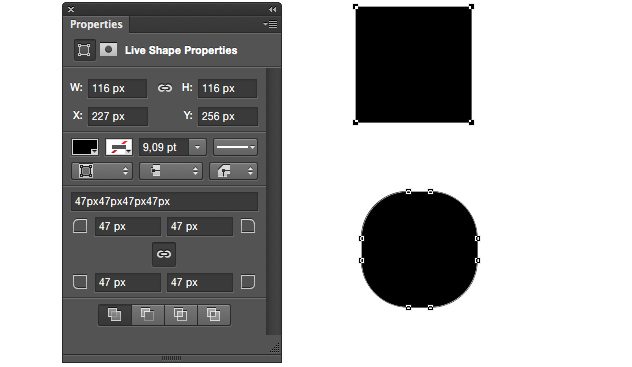
For shapes, you can not only put a stroke and select its weight, which migrated to Photoshop from Illustrator.
In the tab Properties you can smooth corners, for example.
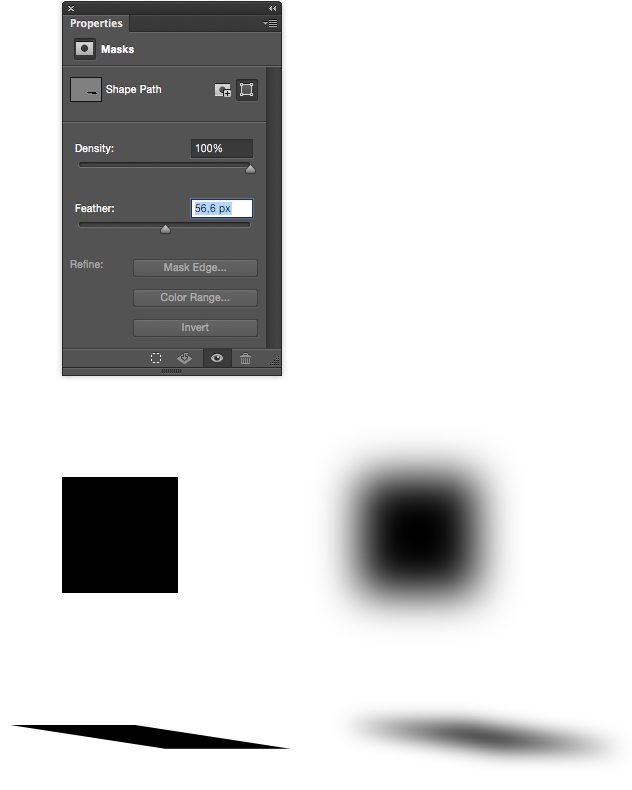
And by switching to the mask setting in the same place, you can adjust the blur of the shape with the slider. It is convenient to make shadows, for example.
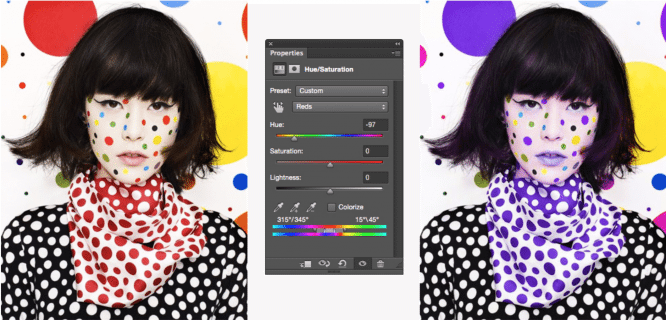
7. Color adjustment
The easiest way to change individual colors in the picture is, of course, using Hue / Saturation. In the same place, for example, it is convenient for me to quickly adjust the shade of a color.
Of course, you need to make sure that this does not affect the quality of the overall picture – here, for example, it is obvious that the girl’s skin turned out to be too purple for me (along with the lips, by the way).
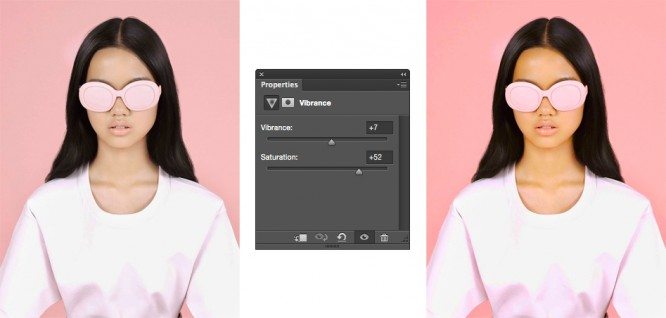
To change the overall tone of the picture or if you need to stretch (or dim) the colors – works more elegantly Vibrace, which like Hue / Saturation, turns on at the bottom of the layers tab (see point 1).
8. Superposition of smarts on the surface
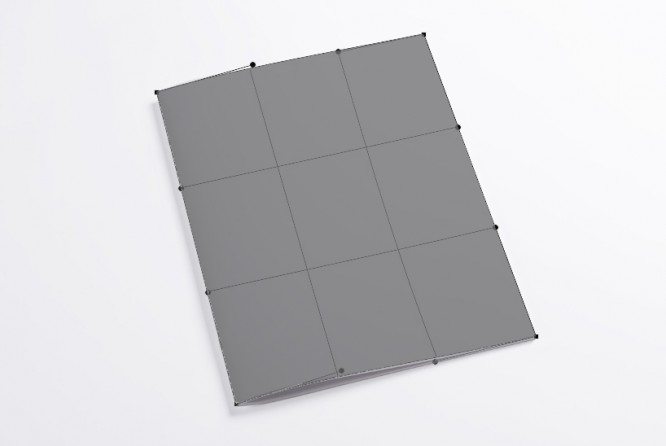
For example, we want to show our design on this cover.
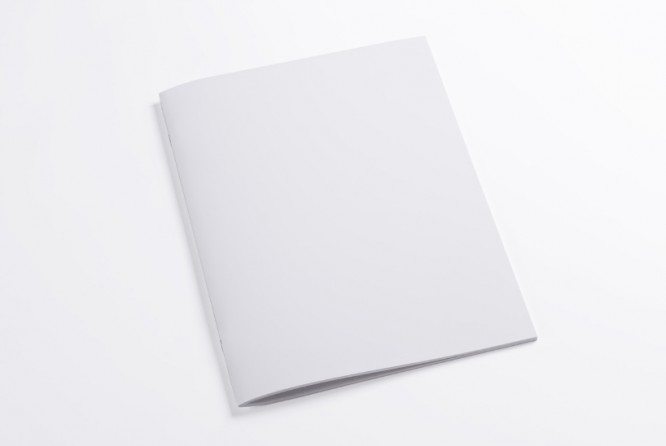
To do this, stretch the shape over it to approximately the size of the cover.
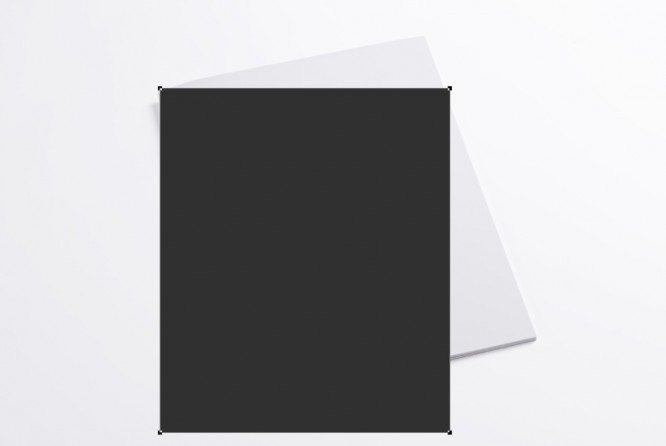
Then we translate it into a smart object and stretch it over the entire surface of the cover. For a better view, I’ve turned the transparency down for now.
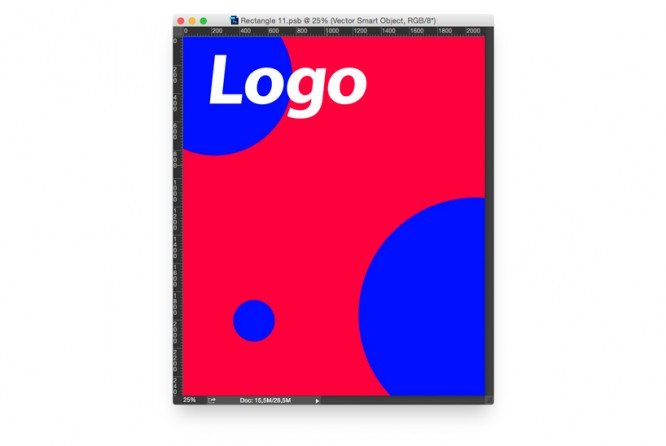
We go into the smart object, insert our design here and save.
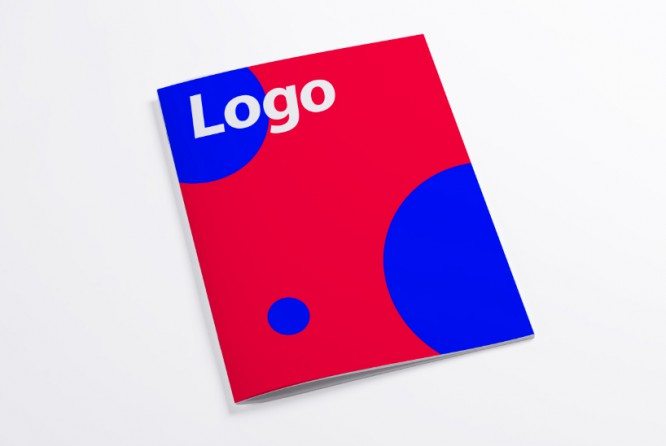
We return to the original tab. In this case, it is still logical to put the smart object in multiplayer. Done. If you need to change something: both the filling and the transformation of the smart object – this is always at hand and will not disappear anywhere.
9. How to get rid of the History tab
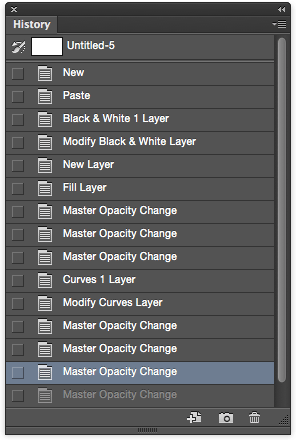
It’s simple – there are two keyboard shortcuts:
ALT + CMD + Z – always takes us one step back as many times as we like.
CMD + Z – switches us from the step to which we just clicked with the previous combination to the last one.
And back too.
Now you can close the tab permanently History…
10. Hot keys
10 is a pretty number, so this will be the last item.
And the most boring one. But maybe the most useful one.
In general, the coolness of using hotkeys can hardly be overestimated.
I remember how in the description of one vacancy for the position of a designer there was such a point: masterly mastery of playing the keyboard. Because hotkeys are speed.
Here are the ones I use the most.
Firstly, I love smart objects, so I set myself two special combinations for them:
CMD + § – turn selected layers into a smart object
CMD + SHIFT + R – rasterize smart object
numbers 1-0 – layer transparency, if a layer is selected; and brushes if a brush is selected
D – resets the selected colors to Black and White
X – swaps the selected colors in places
ALT + BACKSPACE – fills a layer, shape or text with the top color
CMD + N – create a new document
CMD + SHIFT + N – create a new layer
CMD + G – group layers
CMD + J – a copy of the selected layer
SHIFT + ALT + CMD + E – creates the resulting layer
SHIFT + – and SHIFT ++ – switching layer blending modes
ALT + CMD + I – image size
V – allocator
B – brush
U – shapes (SHIFT + U – flipping shapes)
J (SHIFT + J) – stamp and patch
Author: Vlad Ayuev
Source: ayuev
Cover photo: ShutterStock
…

