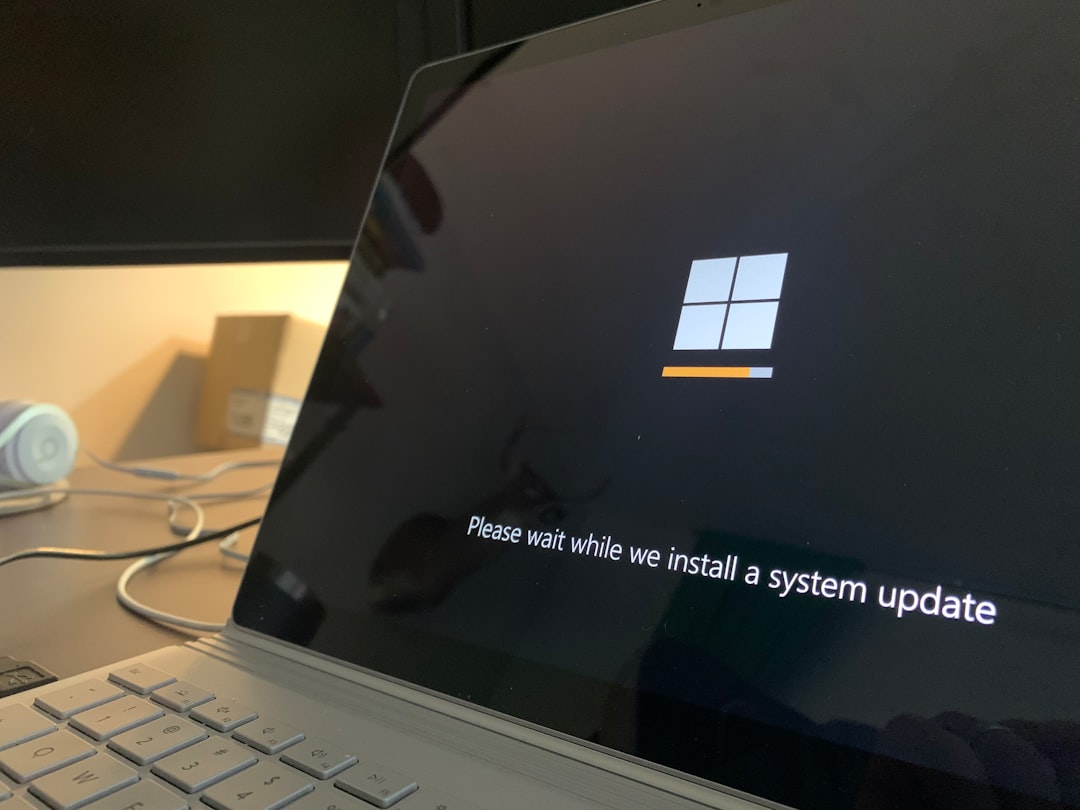
How to Fix Checking Media Fail on Windows Startup
Encountering the “Checking media fail” message upon Windows startup can be frustrating, especially when you’re unsure what’s causing it or how to resolve it. This error usually indicates that the system is trying to boot from a network device due to a misconfigured boot order or issues with your hard drive detection. Don’t panic—this issue is fixable with a few targeted steps. In this guide, we’ll explore the causes of this error, methods to fix it, and preventative measures to avoid facing it again in the future.
What Does “Checking Media Fail” Mean?
When your PC powers on, it follows an order laid out in the BIOS to check for bootable drives. If it can’t find a suitable drive, it might attempt to boot from a network source using PXE (Preboot Execution Environment). When this fails, you may encounter the messages like:
- Checking Media Presence…
- Media Present…
- Checking Media Fail
This error often appears on Dell, HP, Lenovo, and other OEM systems, especially when there’s a hardware configuration issue, a missing or corrupted bootloader, or the boot device is disabled or disconnected.
Common Causes of the Error
Before diving into the solutions, it’s helpful to understand some of the common triggers of this message:
- Incorrect Boot Order: Your PC is set to boot from the network adapter before checking the hard drive or SSD.
- Loose or Faulty Drive Connection: Physical storage devices may not be properly connected.
- Corrupted Boot Files: Essential Windows boot files might be missing or damaged.
- Failed Storage Device: The hard disk or SSD could be experiencing hardware failure.
Let’s take a detailed look at how to tackle these possibilities and restore your computer’s normal boot behavior.
Step-by-Step Solutions to Fix the Issue
1. Change the Boot Order in BIOS
The most common cause is an incorrect boot sequence. Here’s how to update it:
- Power off your computer completely.
- Power it on and press the BIOS/UEFI entry key—commonly F2, Del, or Esc (varies by brand).
- Once inside BIOS, navigate to the Boot tab.
- Check if “Network Boot” or “PXE Boot” is listed before your hard drive or SSD.
- Use the keys provided (usually +/- or arrows) to move your boot drive to the top.
- Save changes and exit BIOS.
Reboot your computer to see if the issue persists. If fixed, great! If not, proceed to the next step.

2. Check Physical Drive Connections
A disconnected or loosely connected storage device could trigger this error. If you’re comfortable opening your PC or laptop:
- Power down and unplug the machine.
- Open the case carefully using appropriate tools.
- Locate your storage drive and check both power and SATA cables for a tight, secure connection.
- If you have spare cables or ports, try using those to rule out a bad cable or connector.
- Reassemble the device and power it back on.
Important: Always ground yourself to avoid static discharge before touching internal components.
3. Disable Network Boot Completely
If your system keeps trying to boot from the network, disable PXE boot to streamline startup:
- Enter the BIOS setup again.
- Locate the setting called PXE Boot, Network Boot, or LAN Boot.
- Set it to Disabled.
- Save changes and exit.
This will force the system to skip network checks and prioritize physical drives.
4. Use Windows Recovery to Repair Boot Files
If your boot files are corrupted, Windows may not recognize the disk as bootable. Here’s how to repair them:
- Create a bootable Windows installation USB using the Media Creation Tool.
- Boot from the USB drive (change boot order if needed).
- Select Repair your computer at the bottom left of the install screen.
- Navigate to Troubleshoot > Advanced Options > Command Prompt.
- Enter the following commands one by one:
bootrec /fixmbrbootrec /fixbootbootrec /scanosbootrec /rebuildbcd
- Restart your PC.
This process can resolve many startup-related issues involving missing or damaged boot configurations.

5. Test and Replace a Faulty Drive
If none of the above methods work, your storage drive may be failing. You can use disk diagnostic tools to assess its health:
- Use a bootable tool like CrystalDiskInfo, GSmartControl, or HD Tune.
- Check for Reallocated Sectors, Pending Sectors, or Read Errors.
- If the drive is seriously degraded or not detected at all, consider replacing it.
After replacement, reinstall Windows or restore from a backup if you had one. This may be a last resort but ensures a long-term fix.
Preventing Future “Checking Media Fail” Errors
Now that you’ve solved the problem, take a few preventive steps to avoid running into it again:
- Regular Backups: Keep copies of important data on another drive or cloud service.
- Monitor Drive Health: Use S.M.A.R.T. monitoring tools to detect early signs of failure.
- Keep BIOS Updated: Firmware updates can resolve storage compatibility issues.
- Secure Your Hardware: Make sure cables and connections inside your PC are not loose.
Final Thoughts
Experiencing a “Checking Media Fail” message doesn’t necessarily mean catastrophic failure. More often than not, it’s a configuration or connection issue that can be easily addressed with a few simple adjustments. By following the steps above, from checking your BIOS settings to ensuring your hardware is in good health, you can troubleshoot and resolve the problem confidently. And with a bit of preventive maintenance, you can keep your system running smoothly for a long time to come.
If the issue still persists after covering all these methods, consulting a professional technician might be the next best step. Until then, these troubleshooting techniques should equip you to diagnose and fix the problem yourself.


