How to create a typographic portrait
How to create a typographic portrait
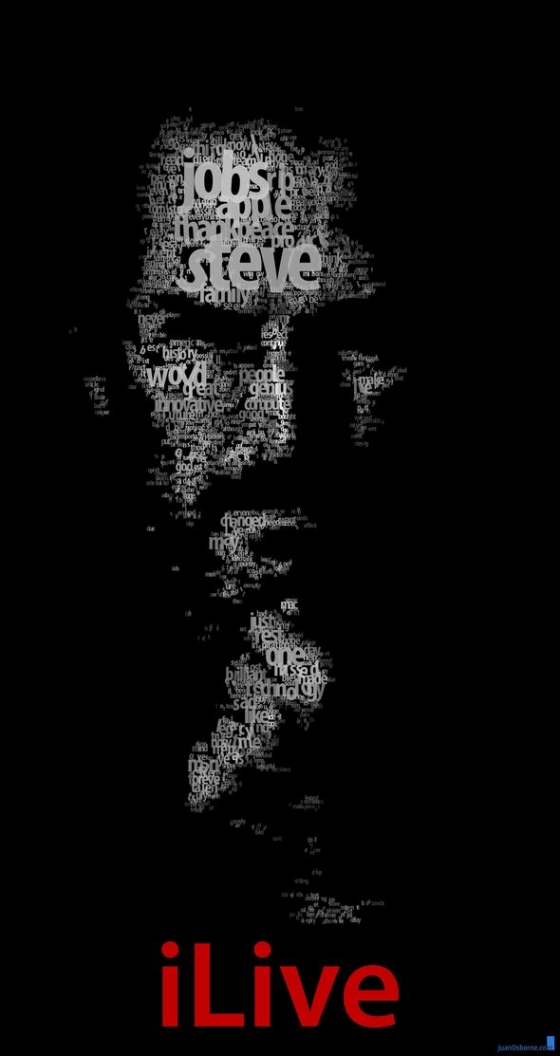
Earlier on the site, a user Astro published typographic portraits that many liked:
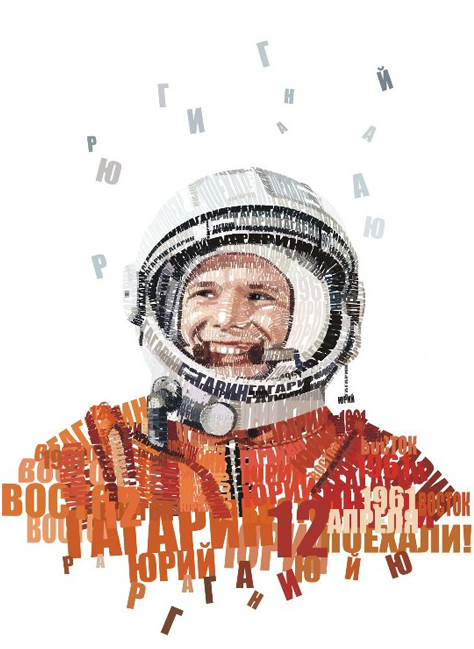
Today I am publishing a tutorial that will tell you about one of the possible techniques for creating such a portrait.
Preparing in Photoshop
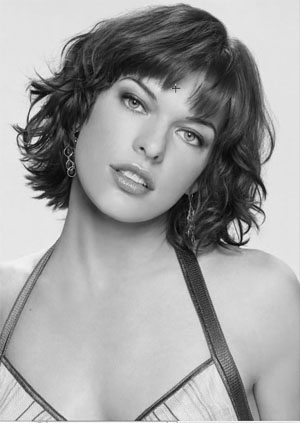
For example, let’s take a photo of Milla Jovovich.
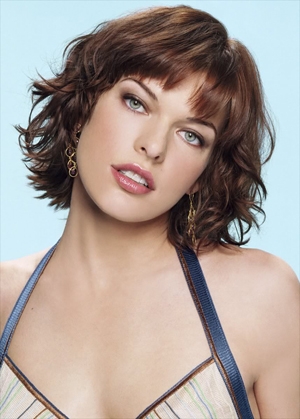
We open our jpeg in Photoshop…
Selecting the work area completely (ctrl + A), then duplicate the image layer (ctrl + J)…
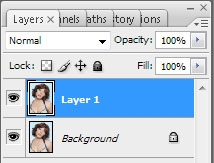
Desaturate the newly created layer (ctrl + shift + U)…
Let’s add some contrast to our image (ctrl + L)…
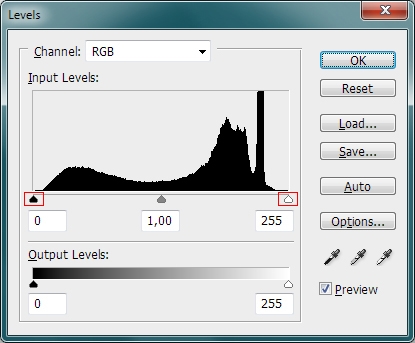
In the window that opens, adjust the sliders to achieve the result shown below.
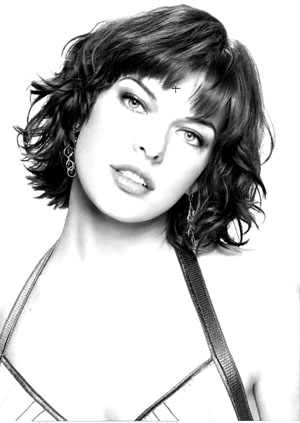
Next, apply the Cutout filter (filter> Artistic> Cutout …)
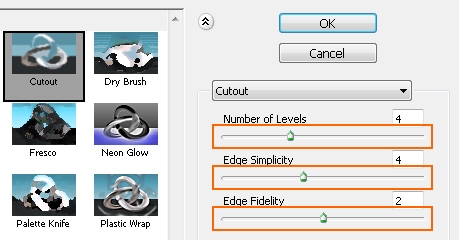
Using the sliders, adjust the filter so that you have approximately 4-6 color tones…
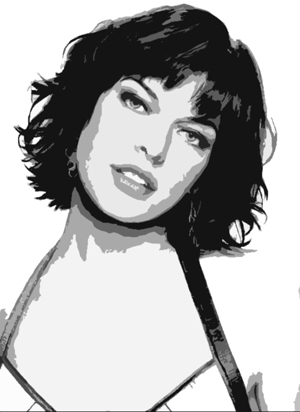
Preparation in vector
Next, we save what we got in the format Jpeg, and, just in case, in PSD. Close Photoshop, we won’t need it anymore. In principle, all further operations can be performed in Photoshop, but for flexible control of the size of the original image, we need a vector…
Open the vector editor. I prefer to work in Xara Extreme Pro… Create a new document (ctrl + N)…
Importing the recently saved image with a keyboard shortcut (ctrl + alt + I) or (file> import)…
For the convenience of work, we will slightly customize the program interface. We need a window with layers Object gallery (analogous to the Layers panel in Photohsop).
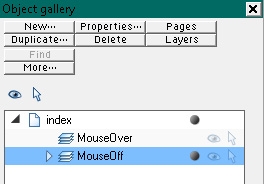
We call it like this: (utilities> galleries> color gallery) or (F10)… I’ll tell you a little about the purpose of icons in the Object Gallery window.
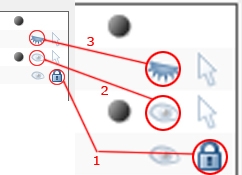
1. Lock layer.
2. Visible layer.
3. The hidden layer.
Although everything is pretty simple here.
For further work, you can increase the transparency of the photo. Selecting in the toolbar Transparency Tool (F6), at the top we change the percentage of transparency from 0% to 45%…

Lock the layer with our image (background). Everything, the preparatory stage is completed.
The most interesting
Draw a curve with the tool Pen tool (shift + F5)…
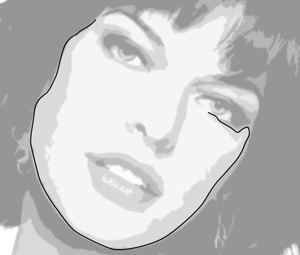
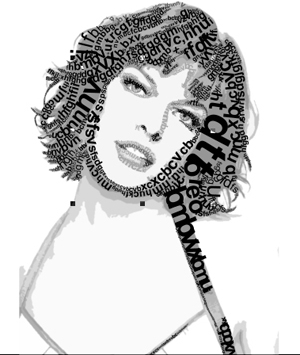
After the line is completed, select the tool Text Tool (T) and move the cursor to the place from which we began to draw our curve. After that, we drive in the text, periodically changing the font size, its boldness and letter spacing. Starting from large spaces, filling in the area of color spots of the portrait, gradually move on to details.
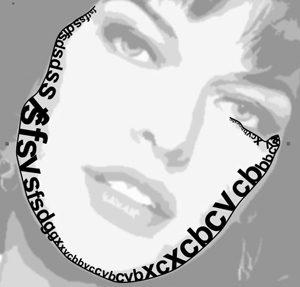
To keep the guide lines out of the way, hide them.
To do this: select an object with text and a guide, while holding Shift click on the icon located in the color panel in the lower left corner. This way we desaturate the outline of the object.
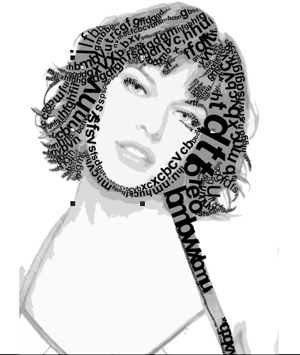
As you add guides with text, the number of layers will increase; for convenience, we will group them into folders. Selecting the layer stack, click Ctrl + G…
one.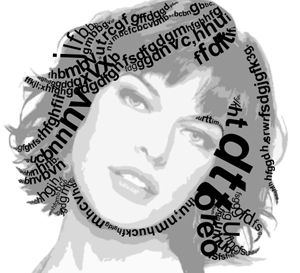
2.
3.
four.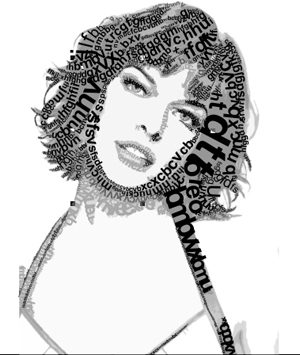
After we finish filling large and small spaces, recolor certain areas of the text in the desired shades of gray, borrowing the color from the very bottom layer, using the tool Color Picker…
Hide the bottom photo layer and see what happens.
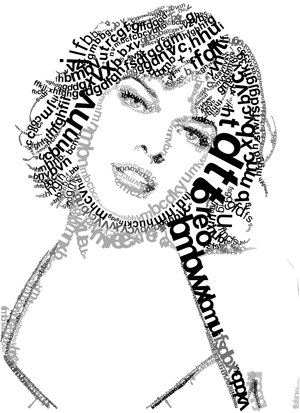
A bit watery, lacking in juiciness. To do this, again make the layer with the photo visible, and hide all other layers. Selecting in the toolbar Text Tool, click on the work area in the upper left corner. Then we start typing the text, filling in the places that need volume.
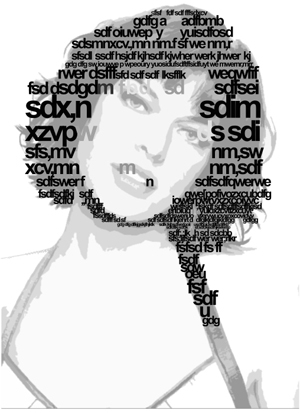
A small note:
This background text layer should be below the rest of the layers.
The final
Then turn on the visibility of other layers except for the background photo, export the result to Jpeg… (file> export …) or (shift + ctrl + E)…
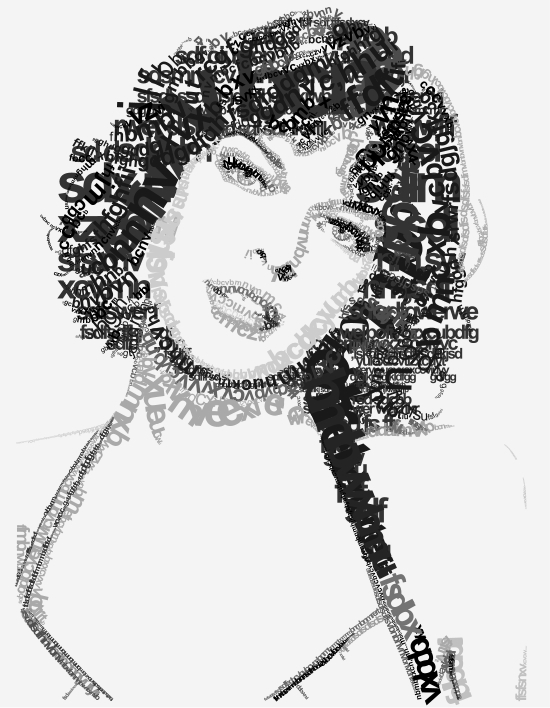
All is ready! Now you can have a cup of coffee and breathe a sigh of relief.
My goal is to familiarize you with the process of working in this technique, everything else is in your hands!
Good luck;)
Source: render.ru
PS: this description is not suitable for everyone, because most still use Adobe Illustrator. But the principle of creation remains the same for this lesson, only the main tool will be called Type on a Path Tool:
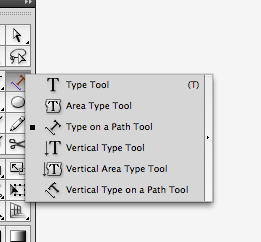
This tool just makes it possible to print text along the selected path.
…

